Collecting evidence is far more involved than what is shown on the screen. Any time evidence is collected from a crime scene, each piece must go through what is known as chain of custody. The term refers to the process of maintaining and documenting the handling of evidence. It involves keeping a detailed log showing who collected, handled, transferred, or analyzed evidence during an investigation(1). If a crime scene investigation is in your work, scoot up to the bar here. Also, check out my book Fight Write: Craft Chaos, Combat and Crime where I go into all this and more.
Collecting Evidence: Secure the Scene
Before any evidence is collected, you have to secure the scene first. Maybe it’s just me but I didn’t know what all that entailed! It’s more than just putting up tape.
First, treating the injured is most important. You don’t secure a scene while someone in it is bleeding out.
- Identify the focus of the crime be it an area or victims. Then you establish a perimeter around that focal point. It’s a good idea to make the perimeter bigger than the scene itself.
- Secure the area. Put up crime tape and place security at the tape.
- Create a command center or meeting point that is not a part of the scene.
- Determine the crime that occurred and then work to protect evidence. Identify what could compromise the evidence such as weather or pets. Make a plan with the team on how to proceed.
- Survey the area for evidence. Once you identify potential physical evidence, the chain of custody begins.
Tools and Dress for Collection
While collecting evidence, gloves are worn and single-use, disposable instruments are used. Those collecting evidence are careful not to touch areas where there could be DNA evidence. They also AVOID talking, coughing, sneezing etc.
Collecting Evidence: Chain of Custody Breakdown
- Photographs – Photographing generally goes from broad to minute. For example, photograph the scene as a whole, different areas, different areas within those areas and so on. Photograph victim as whole and then areas of visible injury. If the victim is alive and needs care, that takes precedent. Photos of their injuries can come later. Photograph evidence before the marker is placed and again after the marker is placed.
- Create detailed notes of each piece of evidence. Be sure to note:
- location of evidence
- time and date of recovery
- description of item
- condition of item
- unique markings
- Collect evidence and place all biological evidence in paper bags NOT plastic. Plastic holds moisture and moisture as well as sunlight in damaging to biological evidence. Yes, I know that you often see evidence placed in clear bags on TV and movies. That is for the sake of the audience. It is not correct procedure unless the evidence is non-biological such as pills, guns (not bloody), spent ammo etc. Wet evidence should dry before being placed in the paper bag. It can be placed in the paper while still wet if you need to hurry to preserve the evidence. For example, if the scene is outside and it’s about to rain, you can place wet evidence in the paper bag. That paper bag can be temporarily put into a plastic bag if the paper bag is dripping. You might read that wet evidence goes in paper and dry in plastic. That’s not correct. I consulted a forensic investigator on the subject. Also, if the biological evidence is old, such as bones, it can be vacuum sealed in plastic on-site and then transported to a freezer. Anyone who touches the evidence must be logged in the chain of custody.
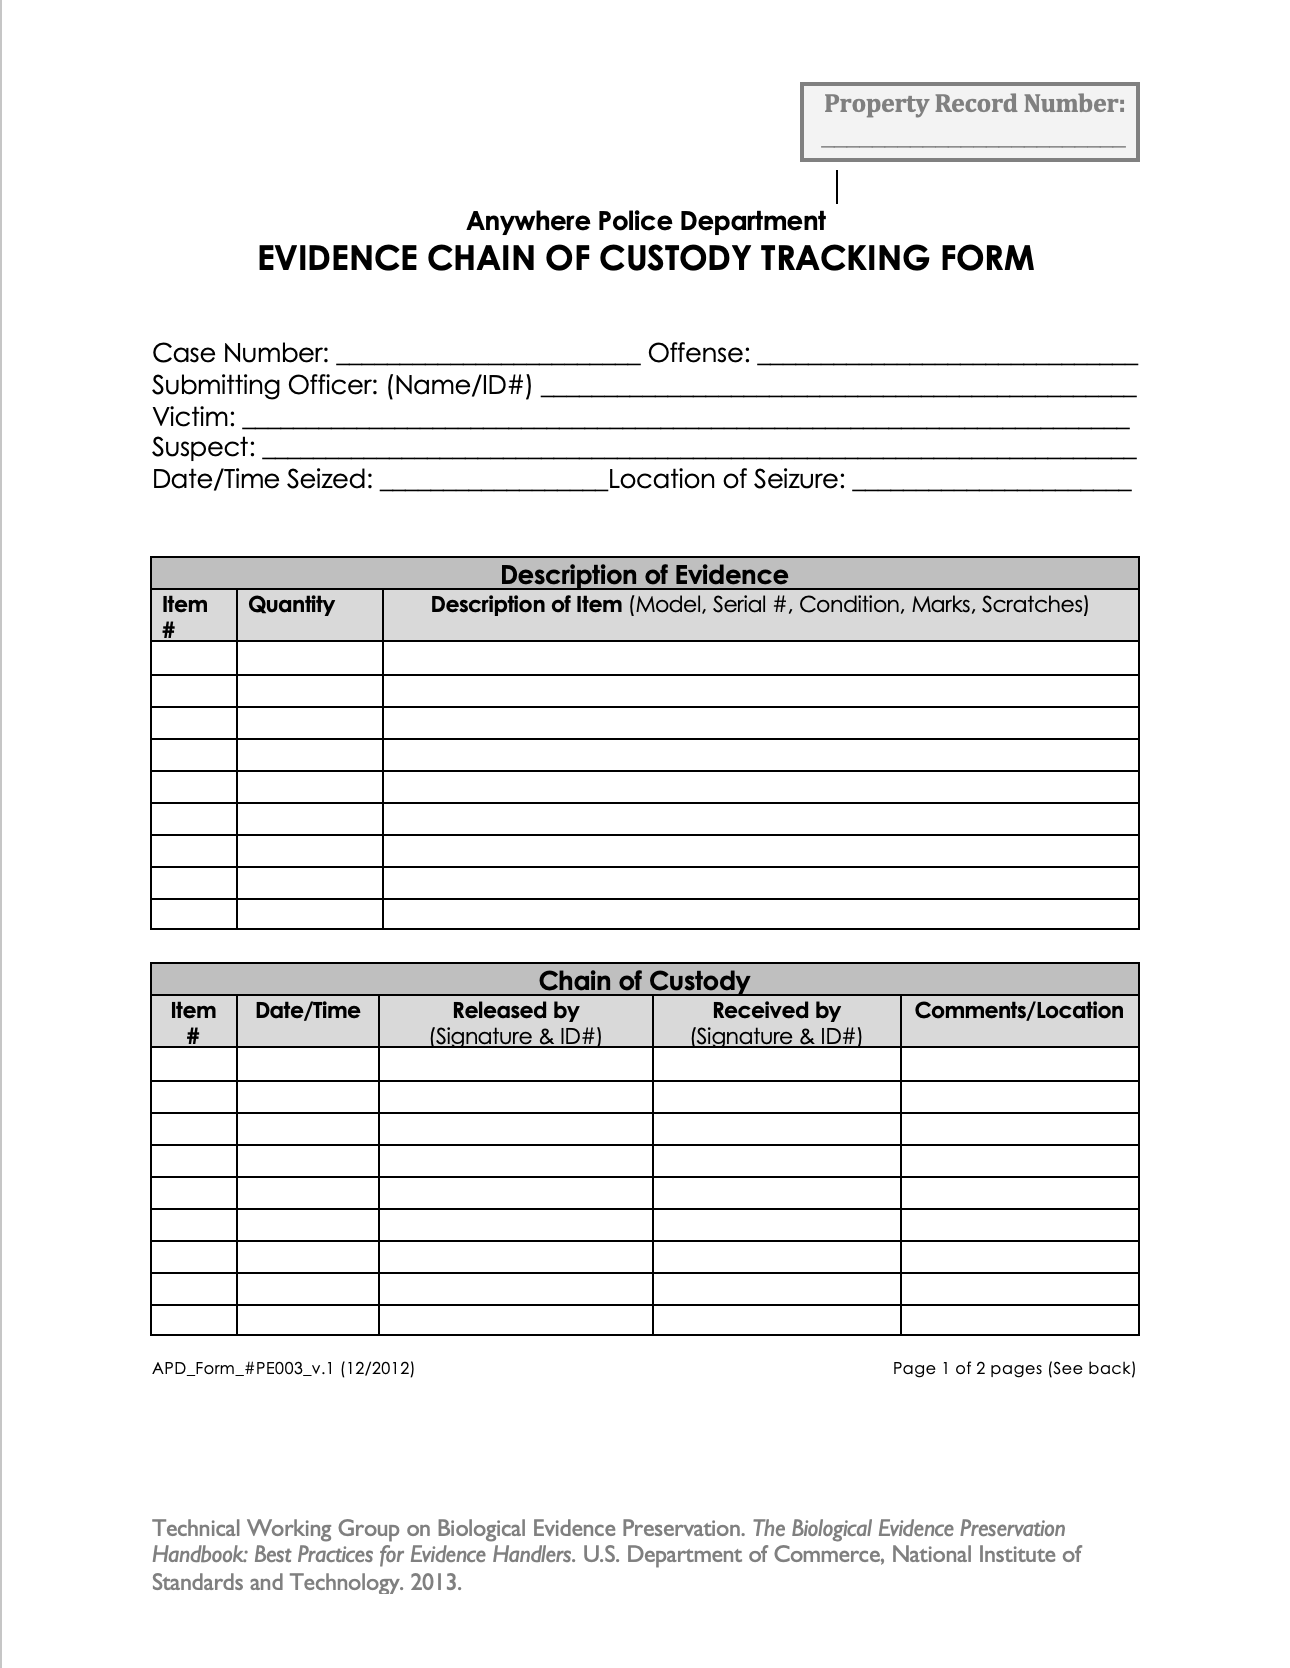
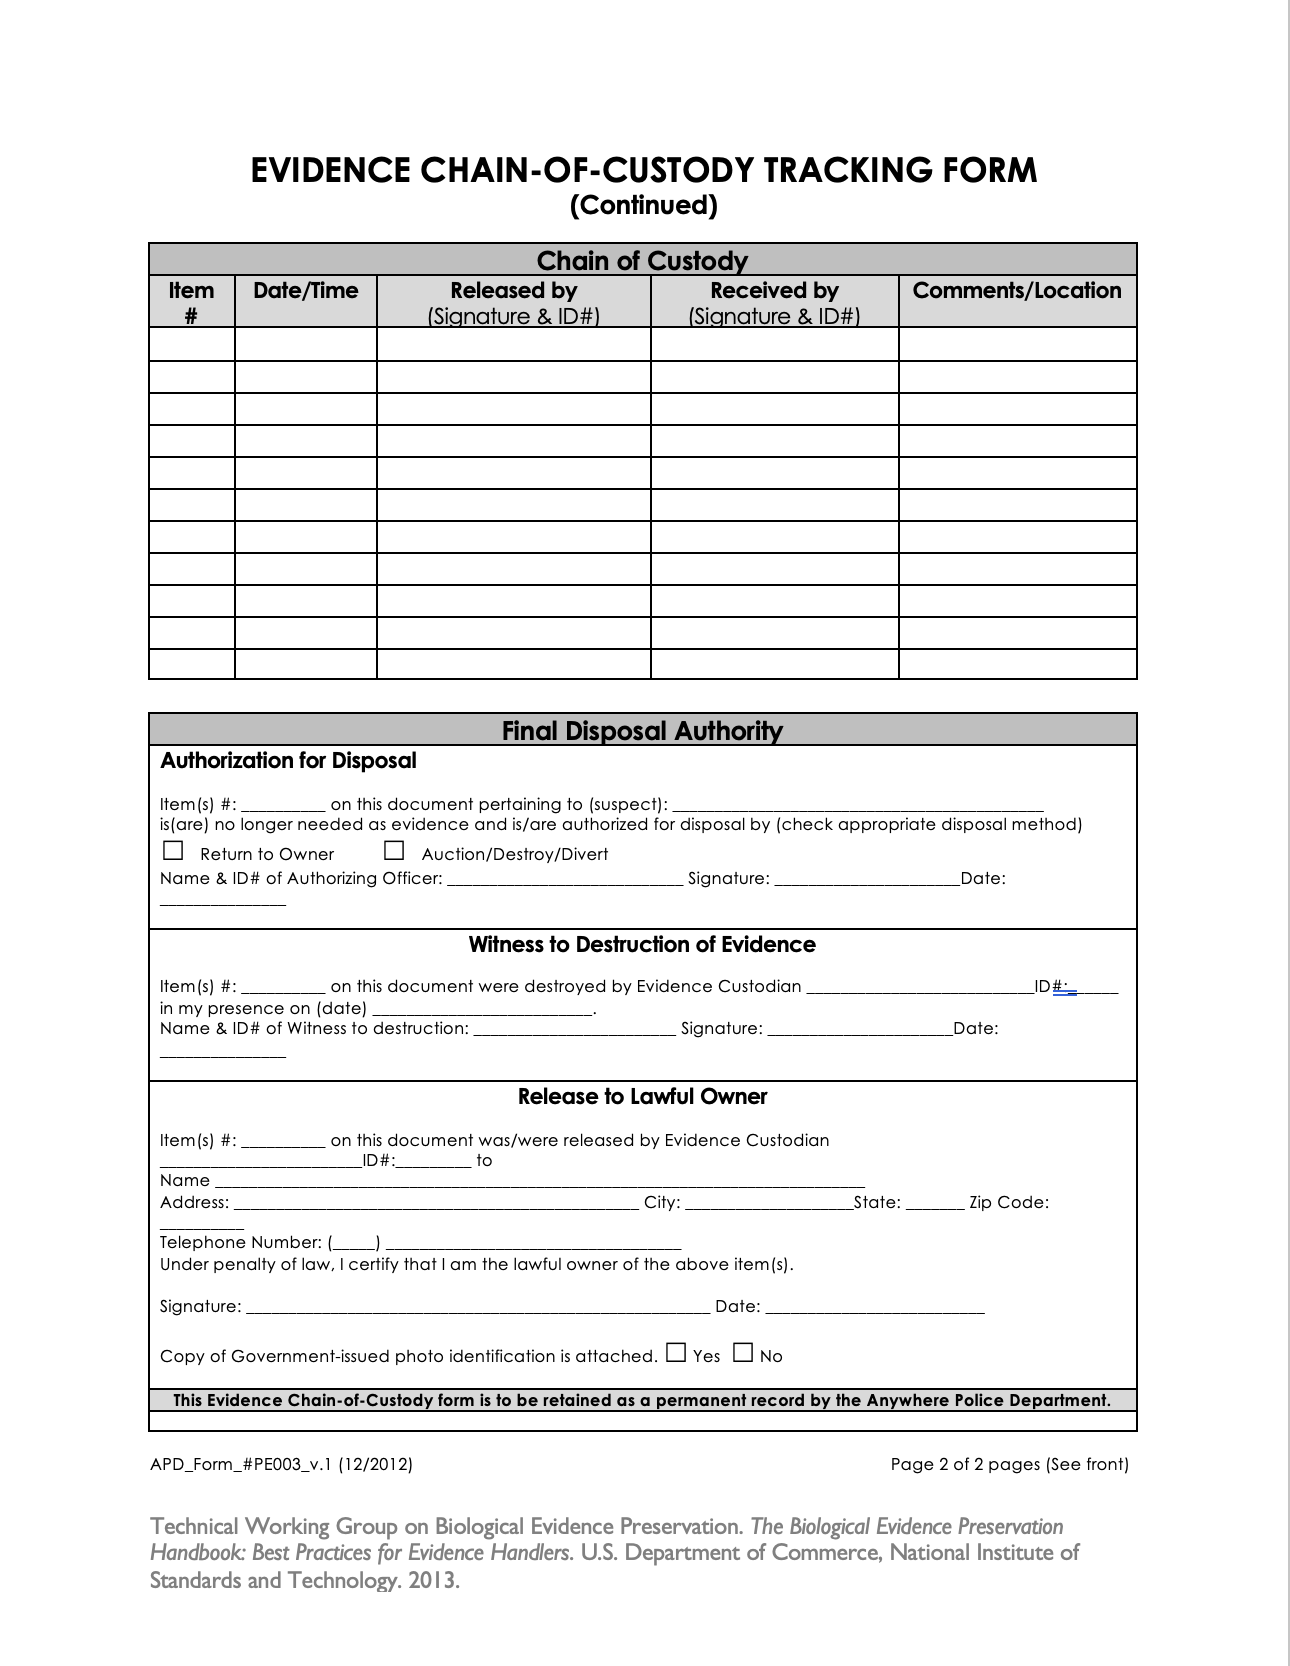
Chain of Custody Forms:
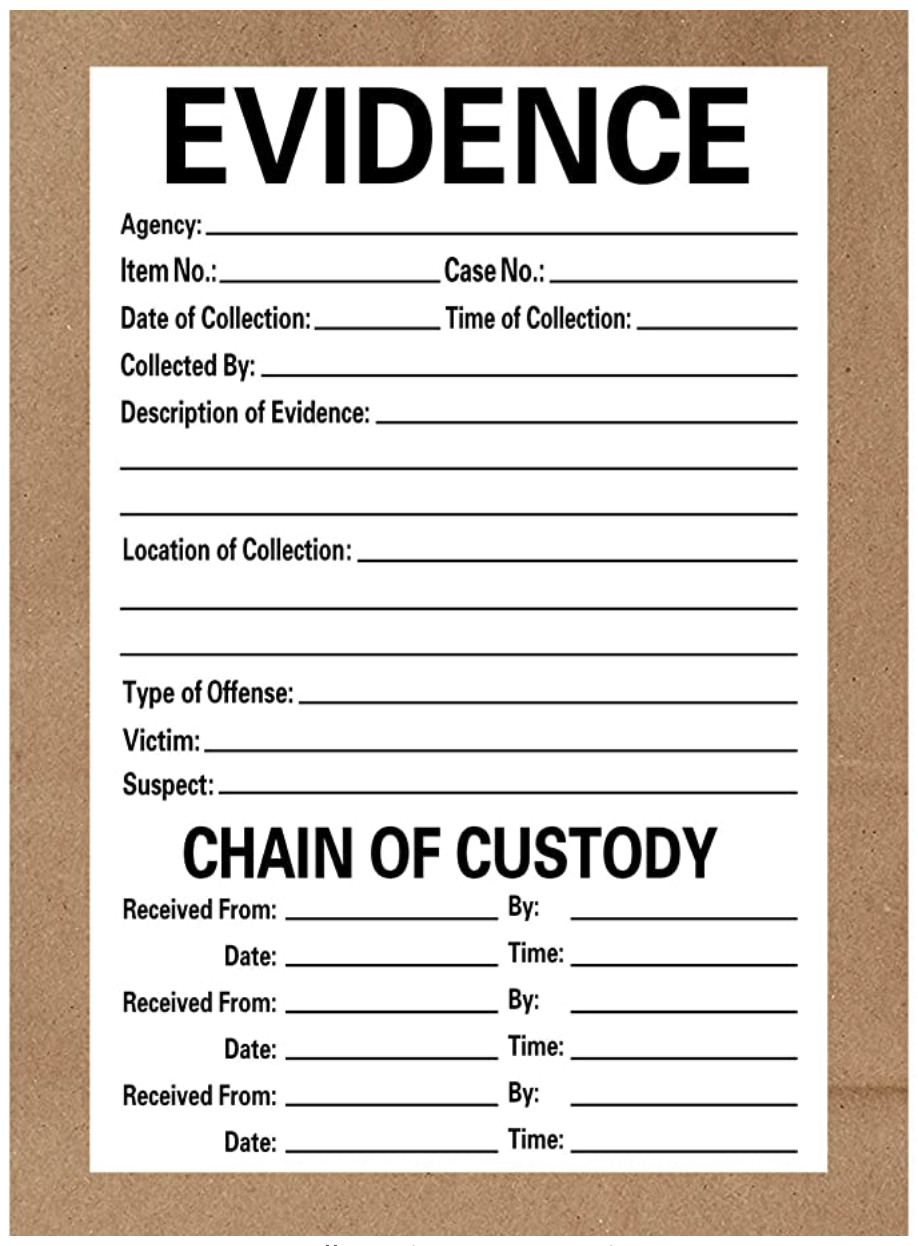
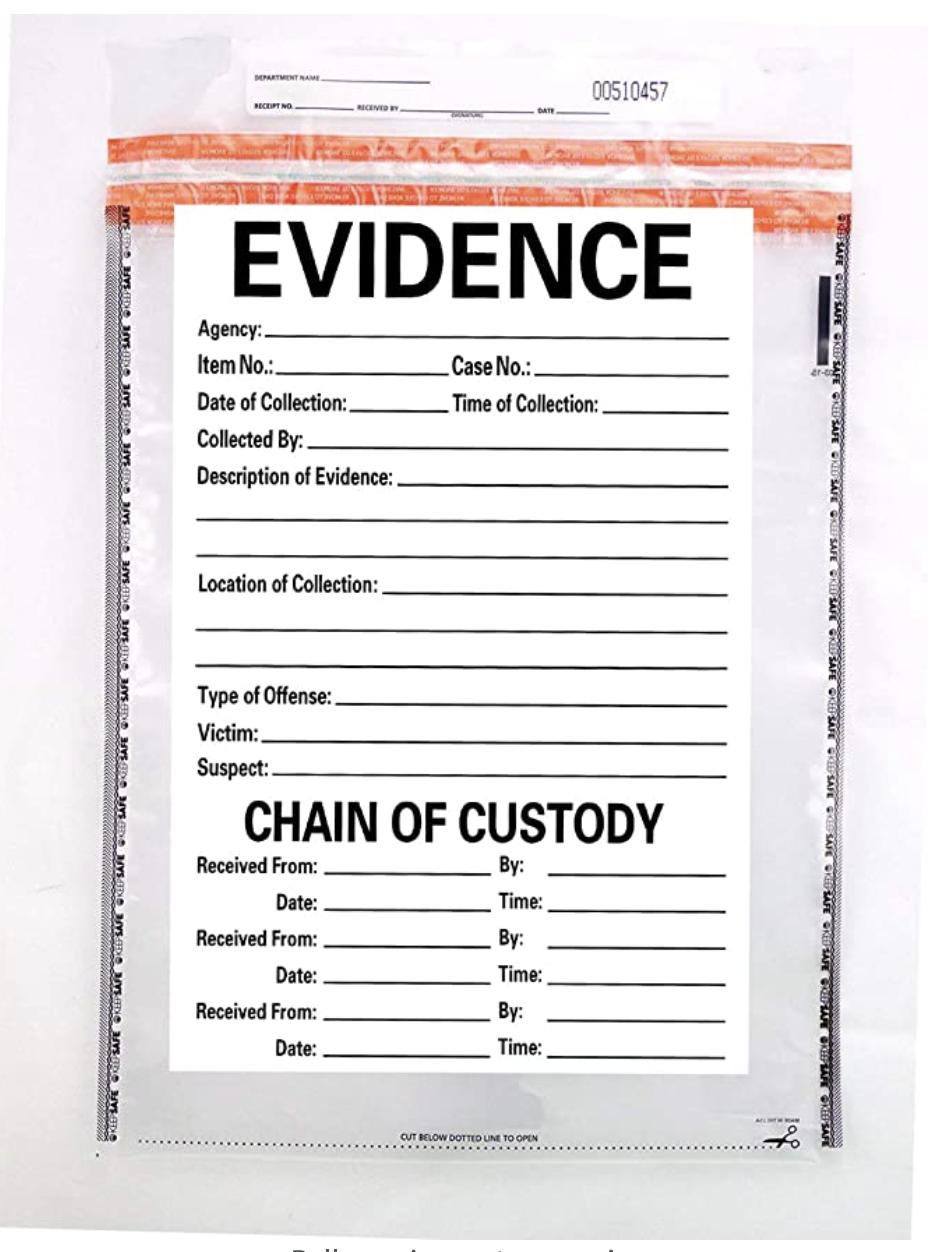
Chain of Custody Bags, Paper and Plastic (You can buy these on Amazon btw.)
And here is a video that kind of walks you through the whole process. I hope this post was useful for you CSI writer types. If you have any questions any time, reach out through the contact form on the home page. Seriously. I love that stuff. Until the next round at FightWrite®, get blood on your pages!








Wow, amazing weblog structure! How lengthy have you ever been running a blog for? you make running a blog look easy. The total glance of your web site is excellent, let alone the content!
I simply could not go away your site prior to suggesting that I extremely enjoyed the standard information a person provide on your guests? Is going to be again regularly in order to check up on new posts
Today, while I was at work, my cousin stole my iPad and tested to see if it can survive a twenty five foot drop, just so she can be a youtube sensation. My apple ipad is now broken and she has 83 views. I know this is entirely off topic but I had to share it with someone!
Hi there, just become alert to your weblog via Google, and found that it is really informative. I’m going to be careful for brussels. I will be grateful when you continue this in future. Lots of folks will be benefited out of your writing. Cheers!
Hello my friend! I wish to say that this article is awesome, nice written and include almost all significant infos. I’d like to see more posts like this.
Whats up very cool web site!! Man .. Beautiful .. Wonderful .. I will bookmark your site and take the feeds also…I’m satisfied to seek out a lot of useful information right here in the submit, we need develop more techniques on this regard, thank you for sharing. . . . . .
There is noticeably a bundle to know about this. I assume you made certain nice points in features also.
I am constantly searching online for posts that can facilitate me. Thank you!
I wanted to thank you for this great read!! I definitely enjoying every little bit of it I have you bookmarked to check out new stuff you post…
I used to be suggested this web site through my cousin. I’m no longer positive whether or not this post is written through him as nobody else realize such special about my problem. You are amazing! Thanks!
Well I really enjoyed studying it. This subject offered by you is very useful for accurate planning.
great points altogether, you simply gained a brand new reader. What would you suggest about your post that you made some days ago? Any positive?
You are my breathing in, I have few web logs and occasionally run out from to brand.
I really like your writing style, great information, appreciate it for putting up : D.
wonderful post, very informative. I wonder why the other experts of this sector do not notice this. You should continue your writing. I’m sure, you have a great readers’ base already!
I’ve been absent for some time, but now I remember why I used to love this site. Thanks, I will try and check back more often. How frequently you update your website?
I really appreciate this post. I¦ve been looking everywhere for this! Thank goodness I found it on Bing. You have made my day! Thx again
I have been browsing on-line more than 3 hours these days, yet I by no means discovered any attention-grabbing article like yours. It’s pretty price enough for me. Personally, if all web owners and bloggers made good content material as you did, the internet will likely be a lot more helpful than ever before.
This really answered my problem, thank you!
Would love to perpetually get updated great blog! .
Hi, Neat post. There’s a problem with your website in internet explorer, would check this… IE still is the market leader and a big portion of people will miss your magnificent writing due to this problem.
I used to be recommended this web site by means of my cousin. I am now not sure whether or not this publish is written by him as no one else understand such particular about my problem. You’re amazing! Thanks!
I think this is among the most vital info for me. And i’m glad reading your article. But want to remark on some general things, The web site style is ideal, the articles is really nice : D. Good job, cheers
I believe other website proprietors should take this web site as an example , very clean and great user pleasant layout.
Excellent blog here! Also your site loads up very fast! What web host are you using? Can I get your affiliate link to your host? I wish my website loaded up as quickly as yours lol